-

Qualtrics Platform -

Customer Journey Optimizer -

XM Discover -

Qualtrics Social Connect
Homepage Basic Overview
About the Homepage
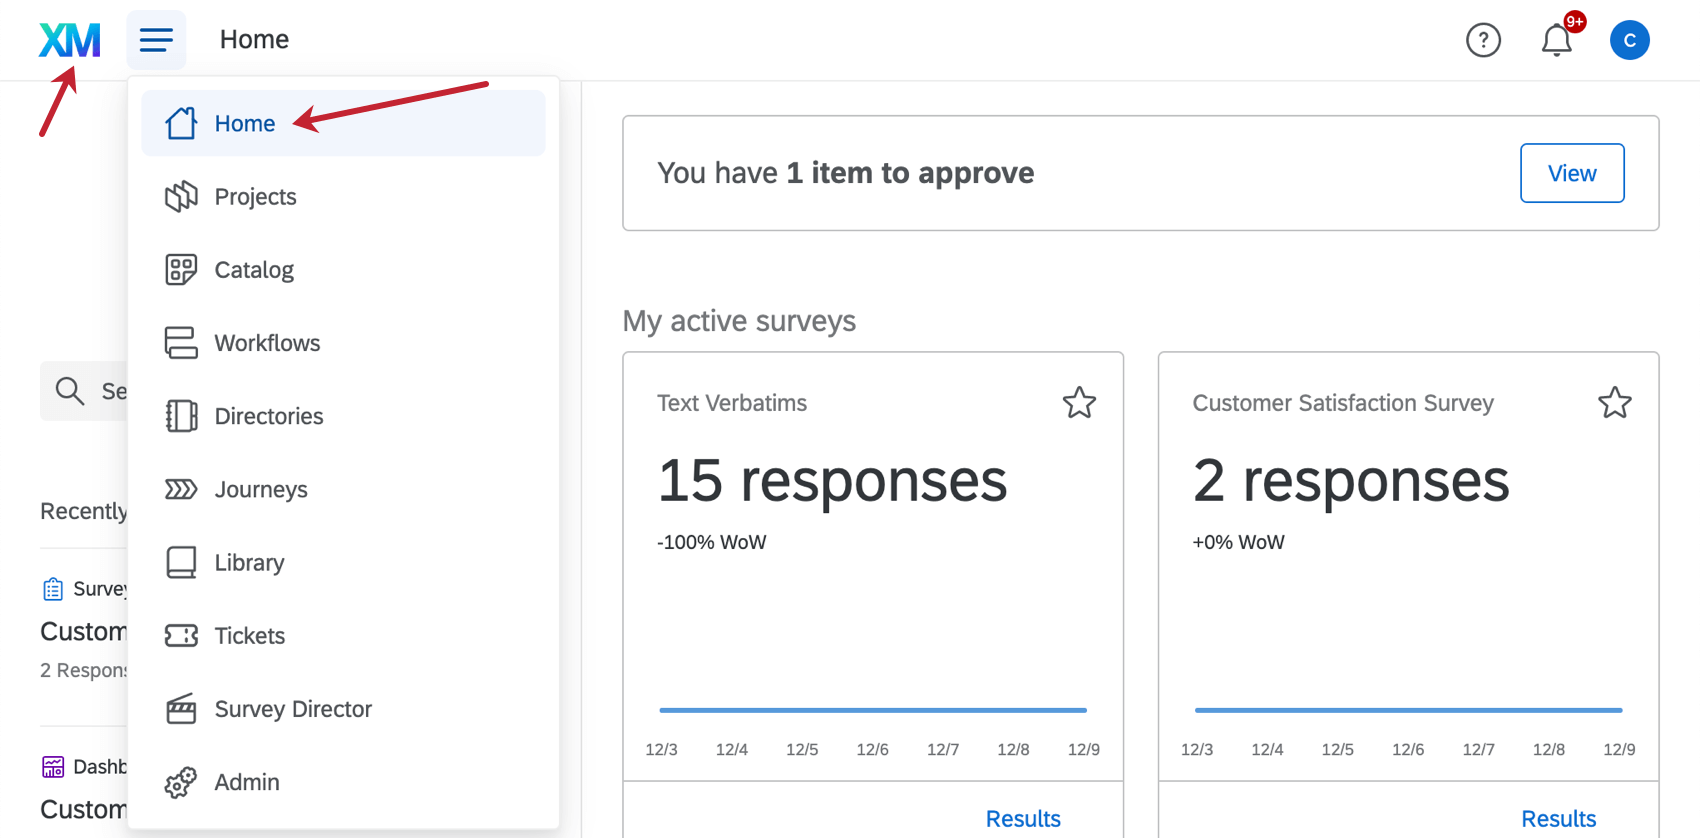
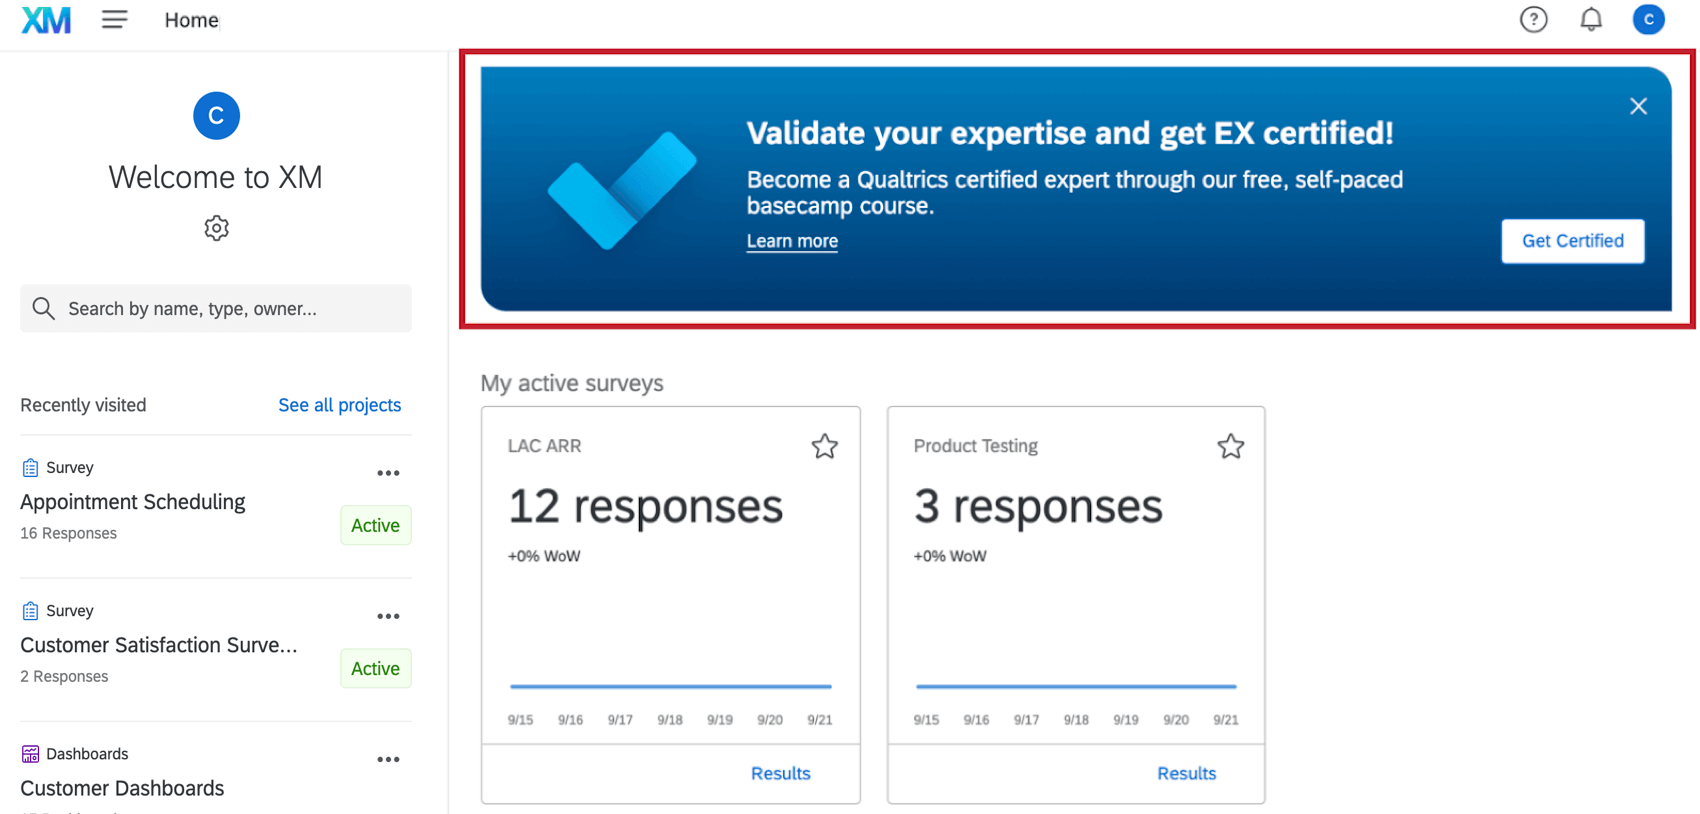
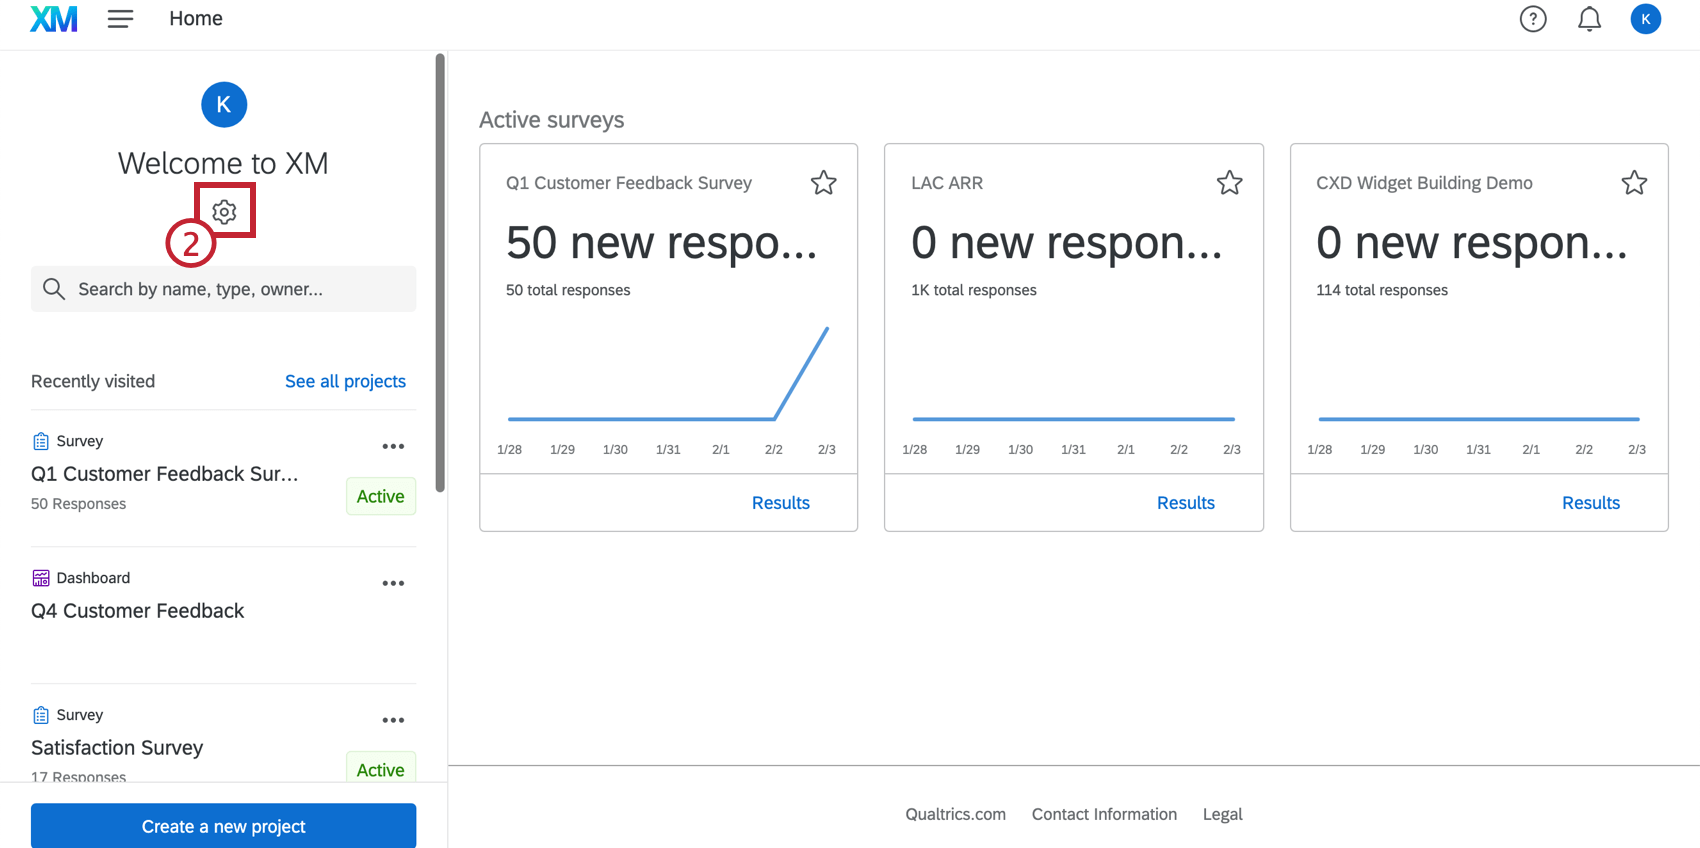
All Qualtrics sessions begin on the homepage – a one-stop shop displaying all your active surveys, workflows, tickets, and more. The homepage can be accessed by opening the navigation menu on any page of the Qualtrics website and selecting Home, or by clicking the XM icon.
The homepage consists of items, or cards, that provide a snapshot of the content within your account. From the homepage you can view active notifications and approval requests, view data on survey responses, and many other tasks.
Available Homepage Cards
The homepage contains items within two categories: always-shown cards and customizable cards.
Always-shown Cards
These cards come and go and can be dismissed, but they cannot be removed from the homepage entirely.
- Alerts: Important notifications.
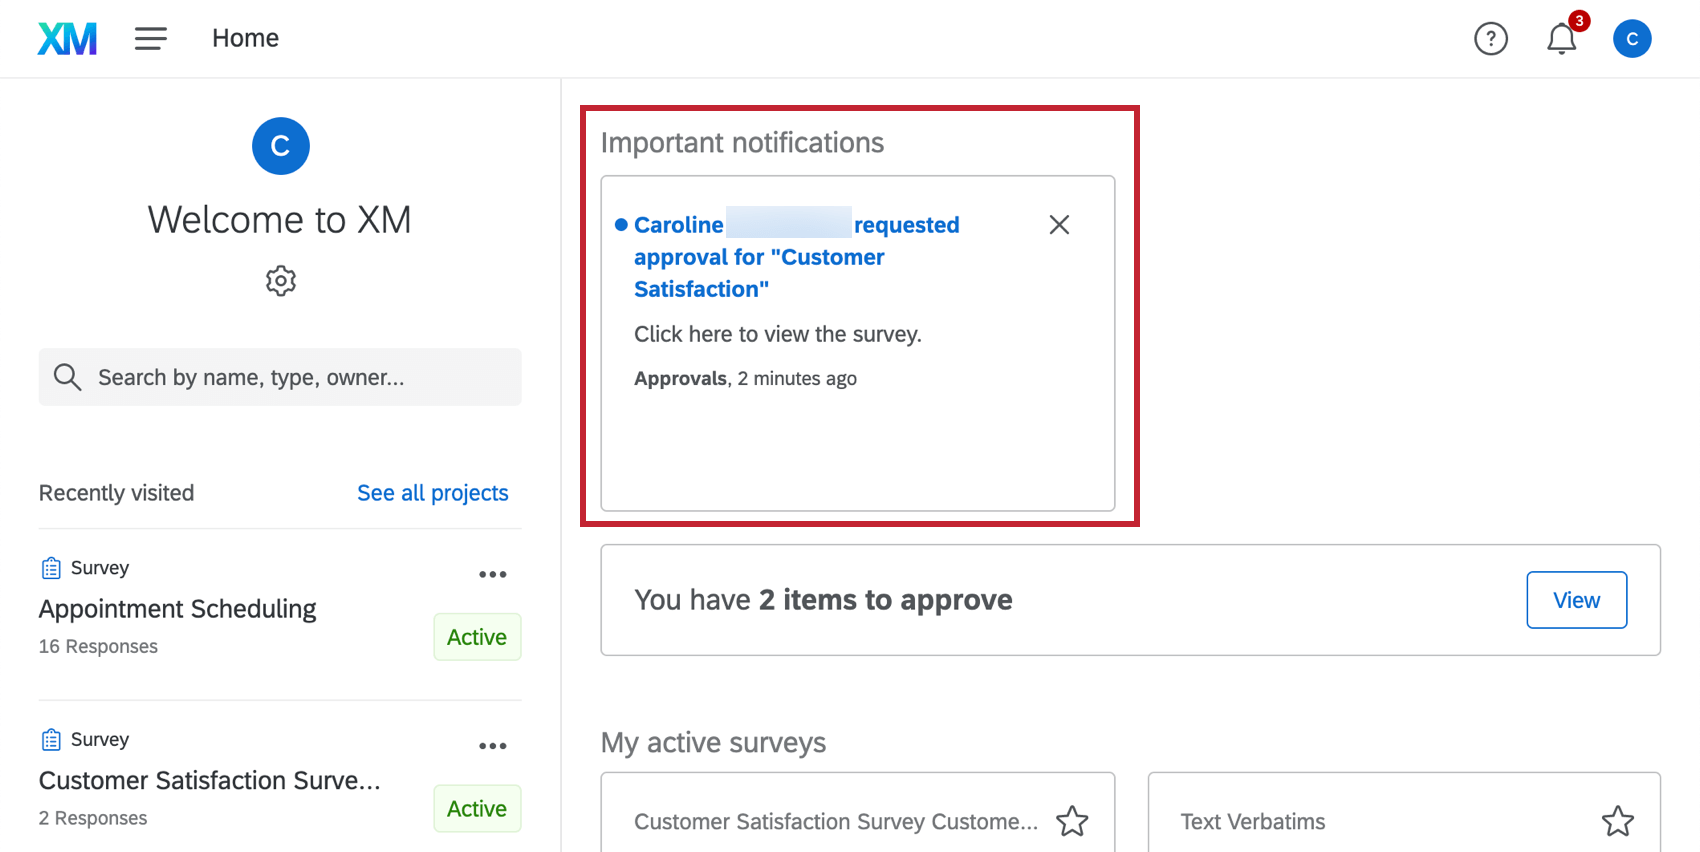
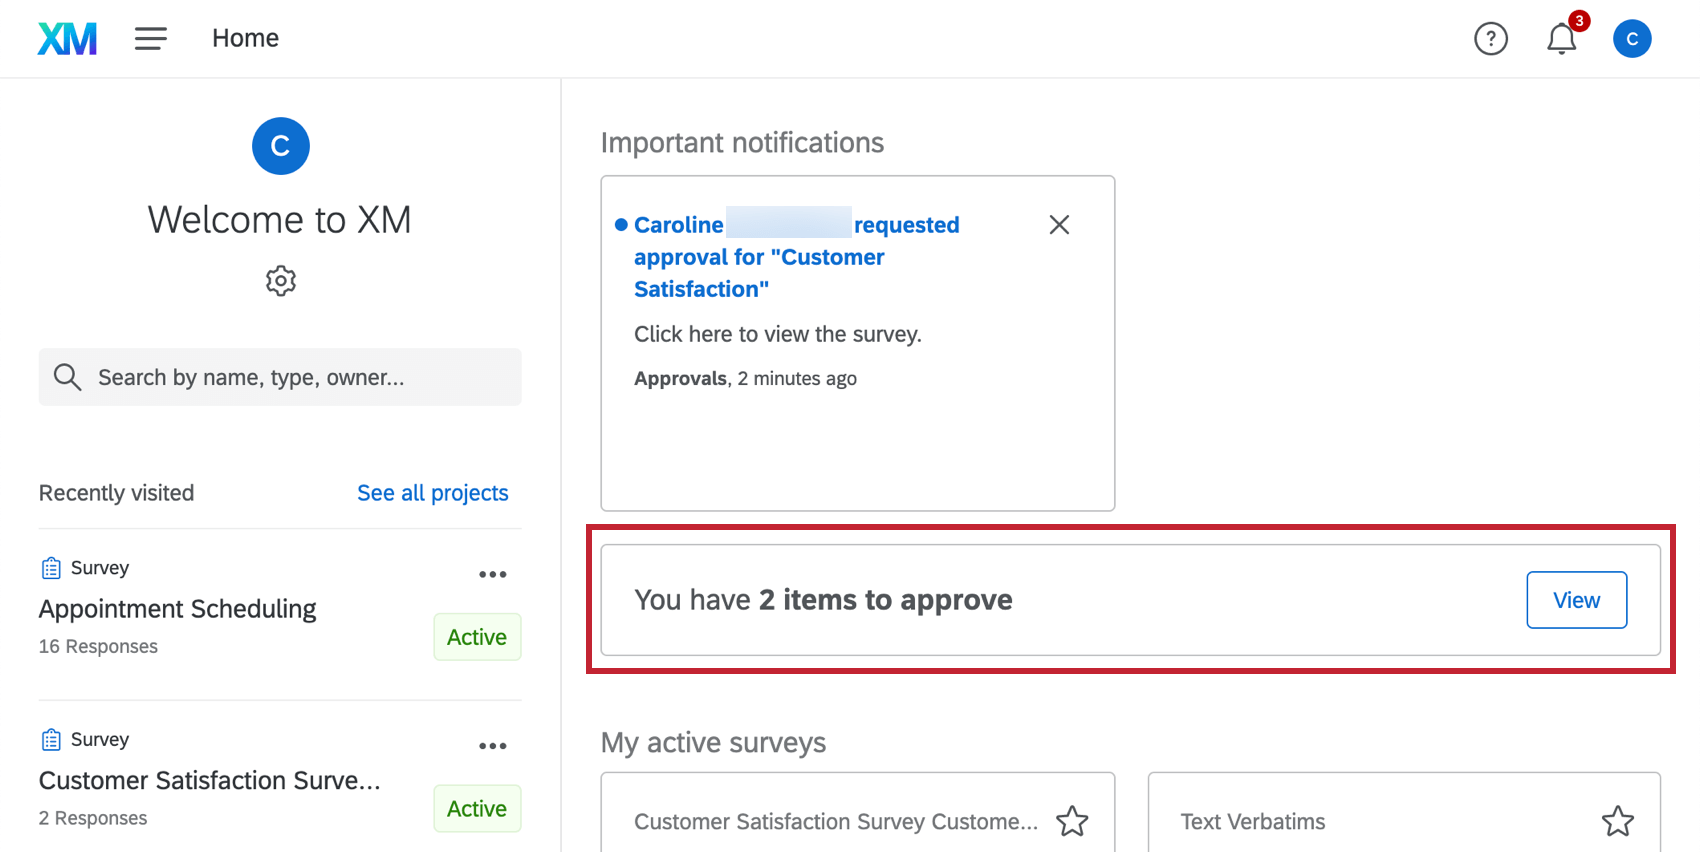
- Approvals: Email, Survey, and Intercept approval requests.
- Qualtrics Learning: Learning material and relevant Basecamp courses to help get the most out of Qualtrics.
Customizable Cards
These cards display summaries about survey, contact, and brand data, and are customizable and cannot be dismissed. The cards that appear on your homepage will depend on which features your user permissions give you access to.
- Recently Visited Projects: Quick access to projects you’ve visited recently. Only the six most recently accessed projects will appear here. Use the search bar to quickly find other projects.
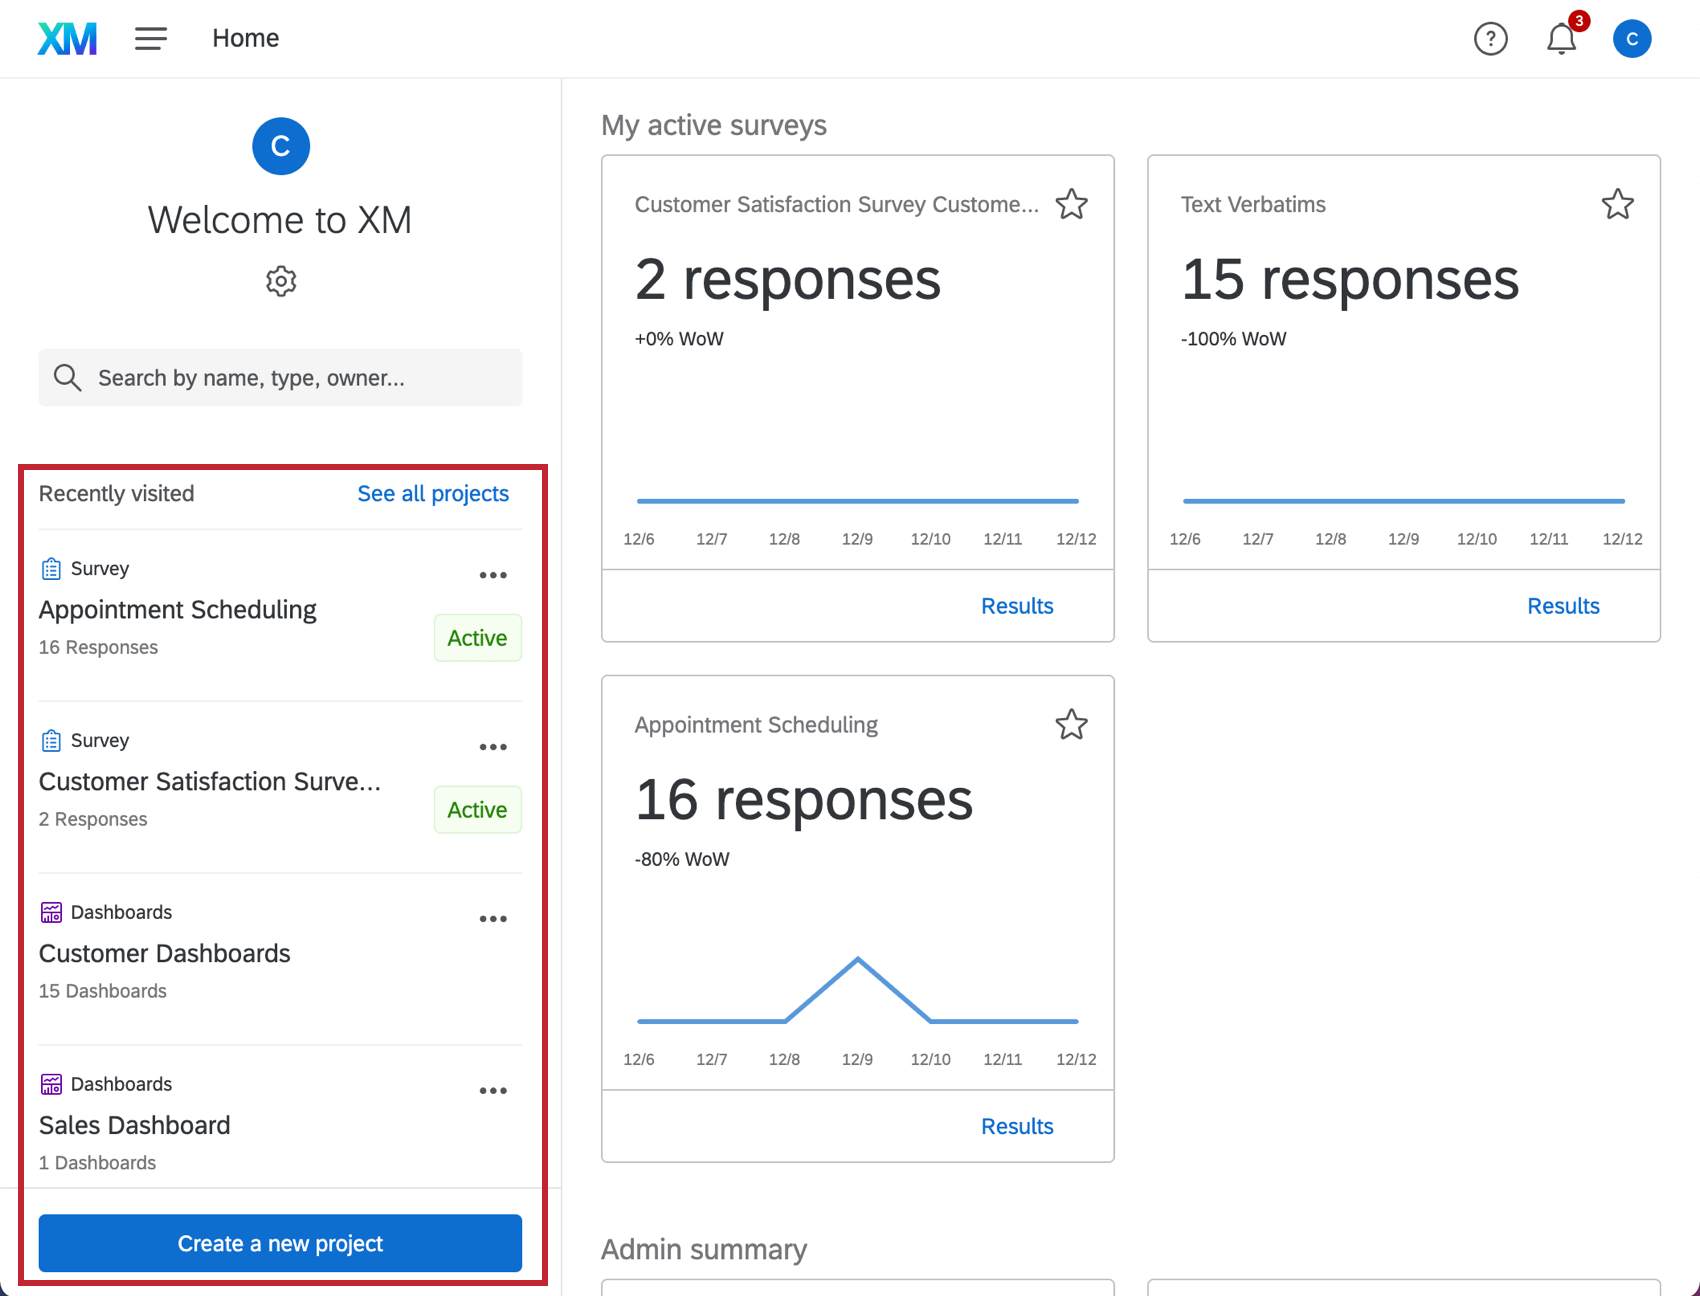 Qtip: You can also create a new project from this section by clicking Create a new project.Qtip: Long project names will be abbreviated in this section. Hover over a project to see the full title.
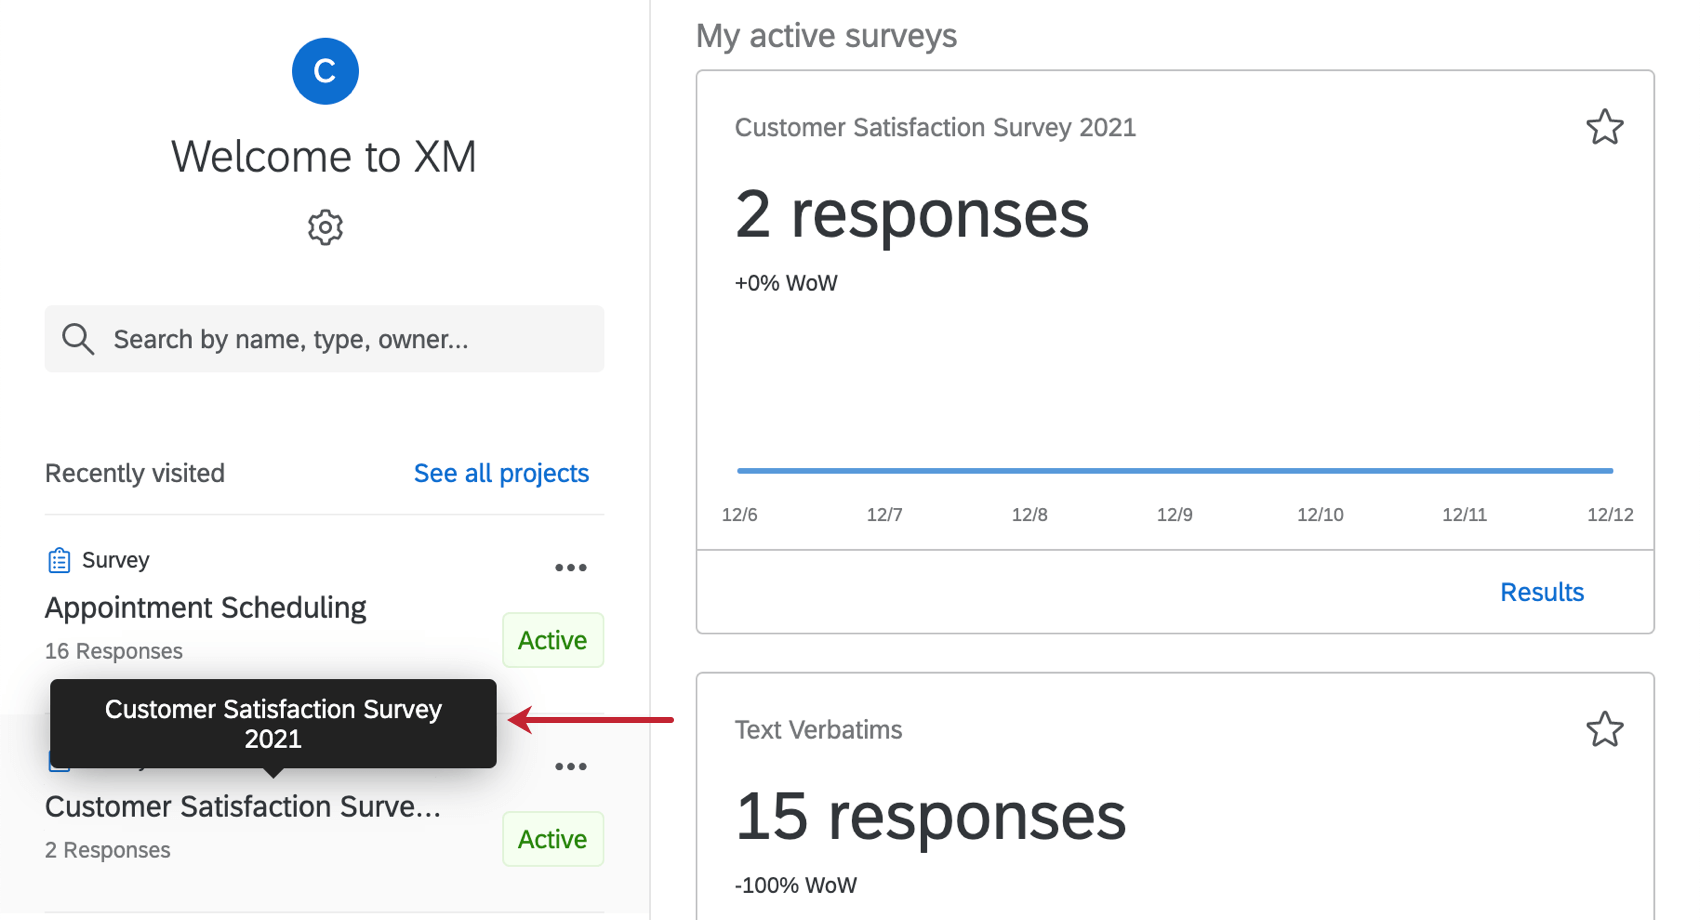
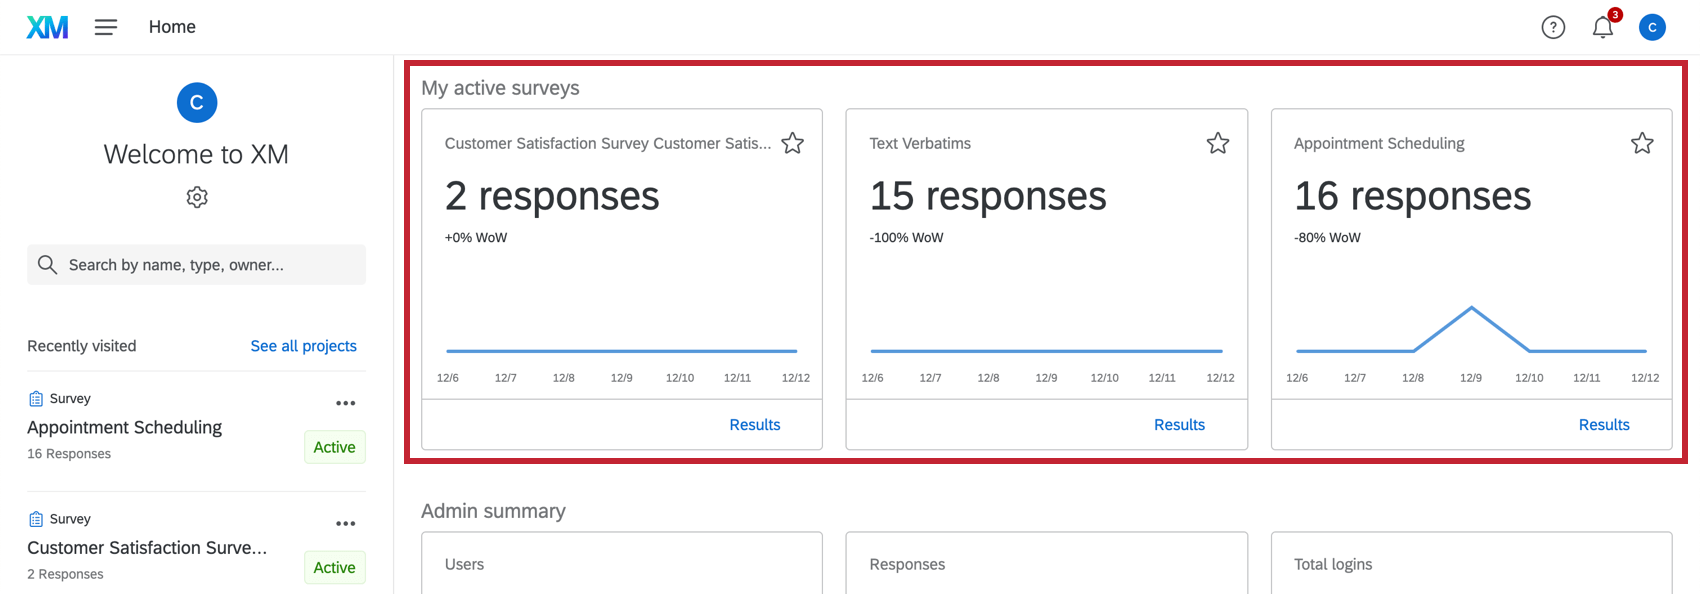
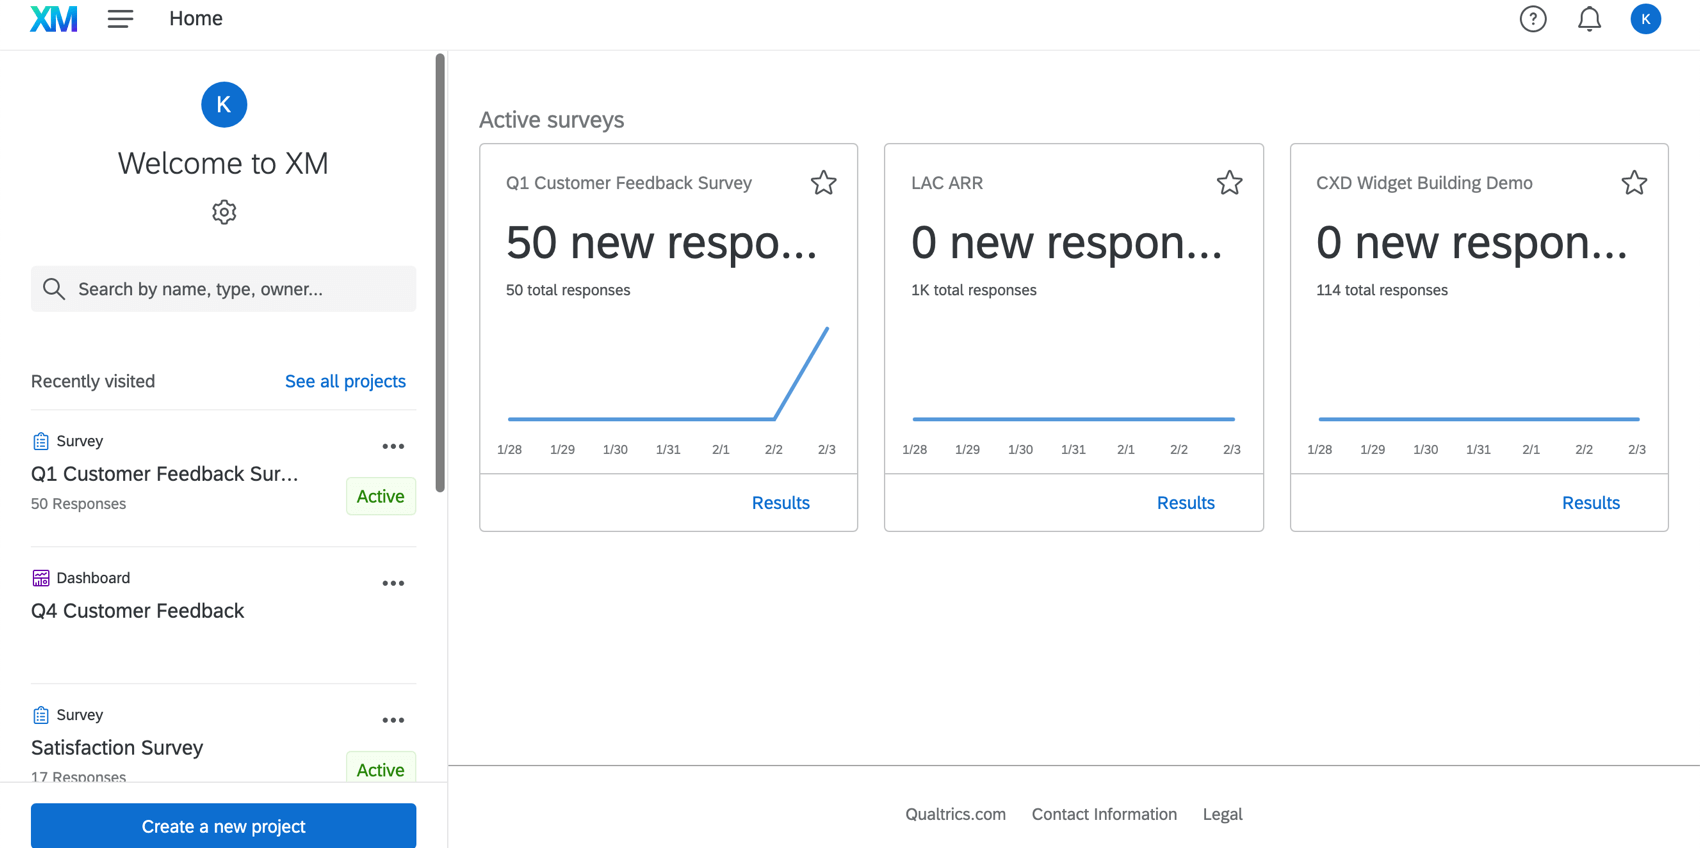
- Active Surveys: Response metrics for active surveys, and quick links to view survey results or quotas. This section is available to users who have access to view or create surveys.
- Admin: Metrics on active users, 12 month response usage, and total logins for your license. This section is available to users who are Brand Administrators.
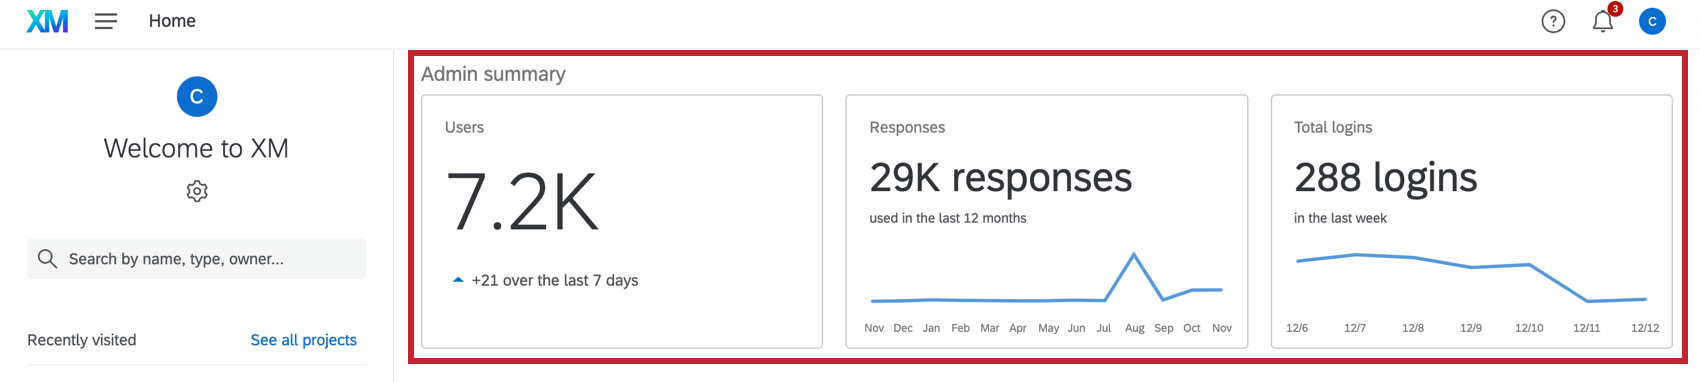 Qtip: The Admin section will only show up for Brand Administrators, not Division Administrators.
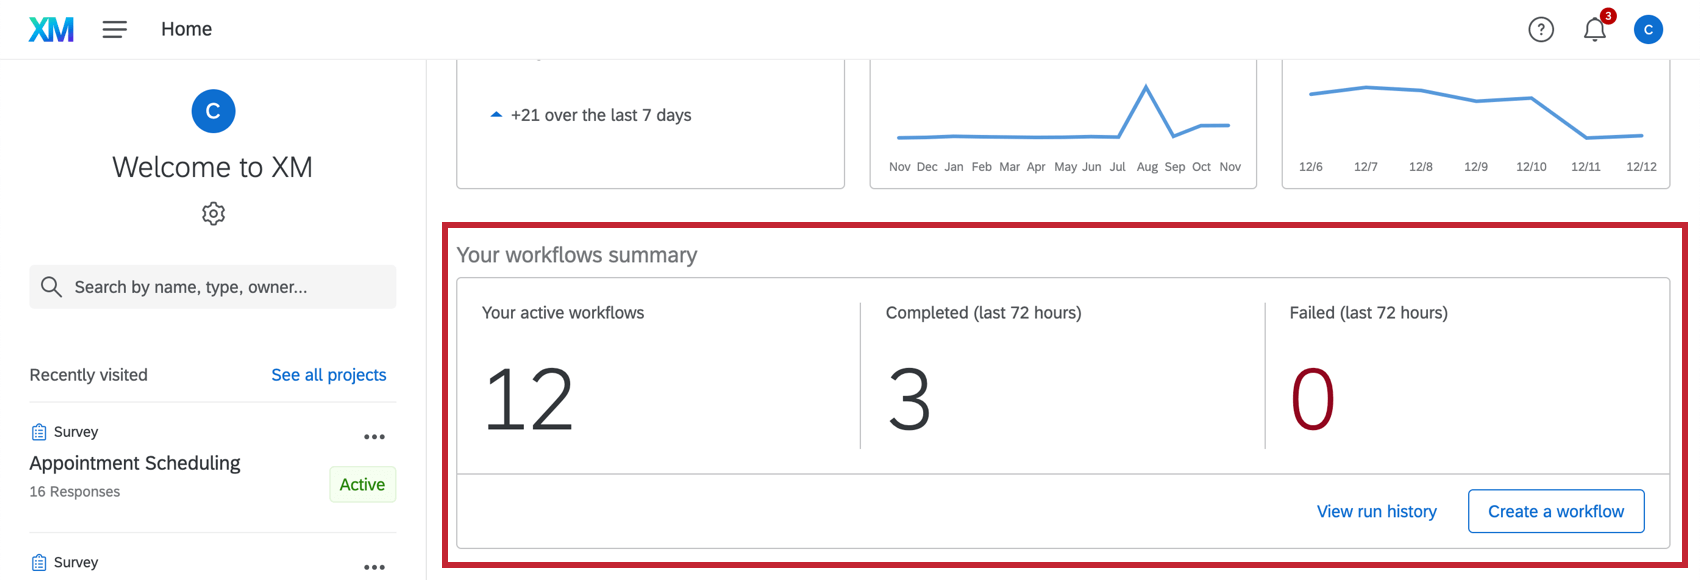
 - Workflows Summary: Metrics on the number of active workflows, completed workflows, and failed workflows This section is available to users who have access to Workflows.
- Tickets Summary: Metrics on your active tickets, your team’s active tickets, tickets open more than 24 hours, new tickets in 24 hours, and average ticket resolution time. This section is available to users who have access to ticketing.
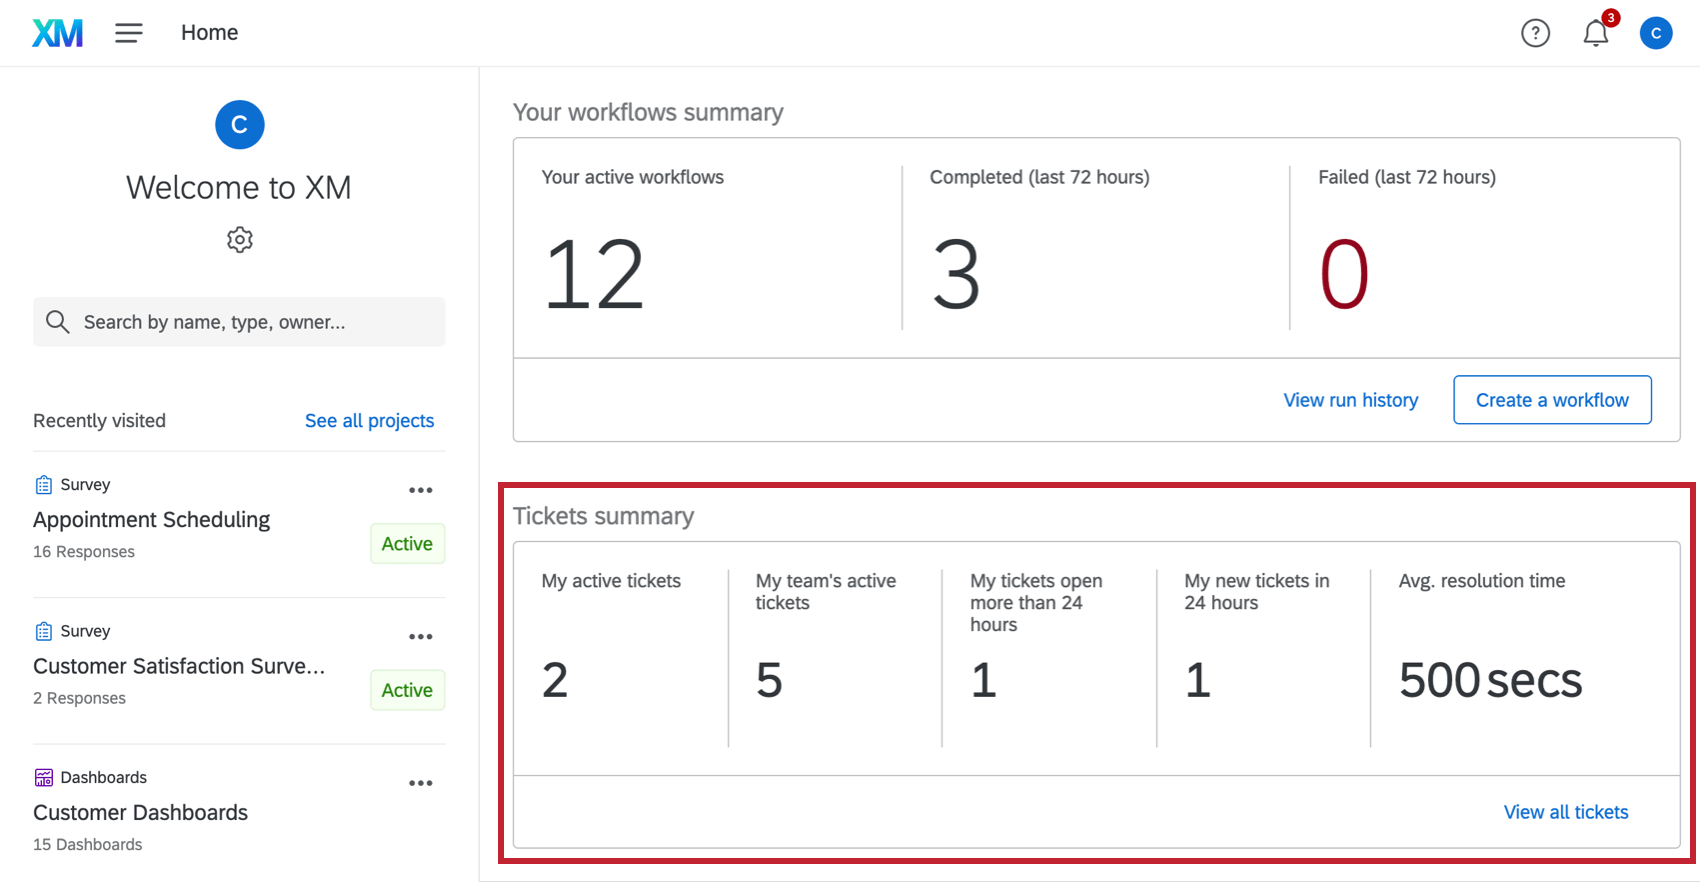 Qtip: When using the new ticketing experience, metrics are only for your tickets.
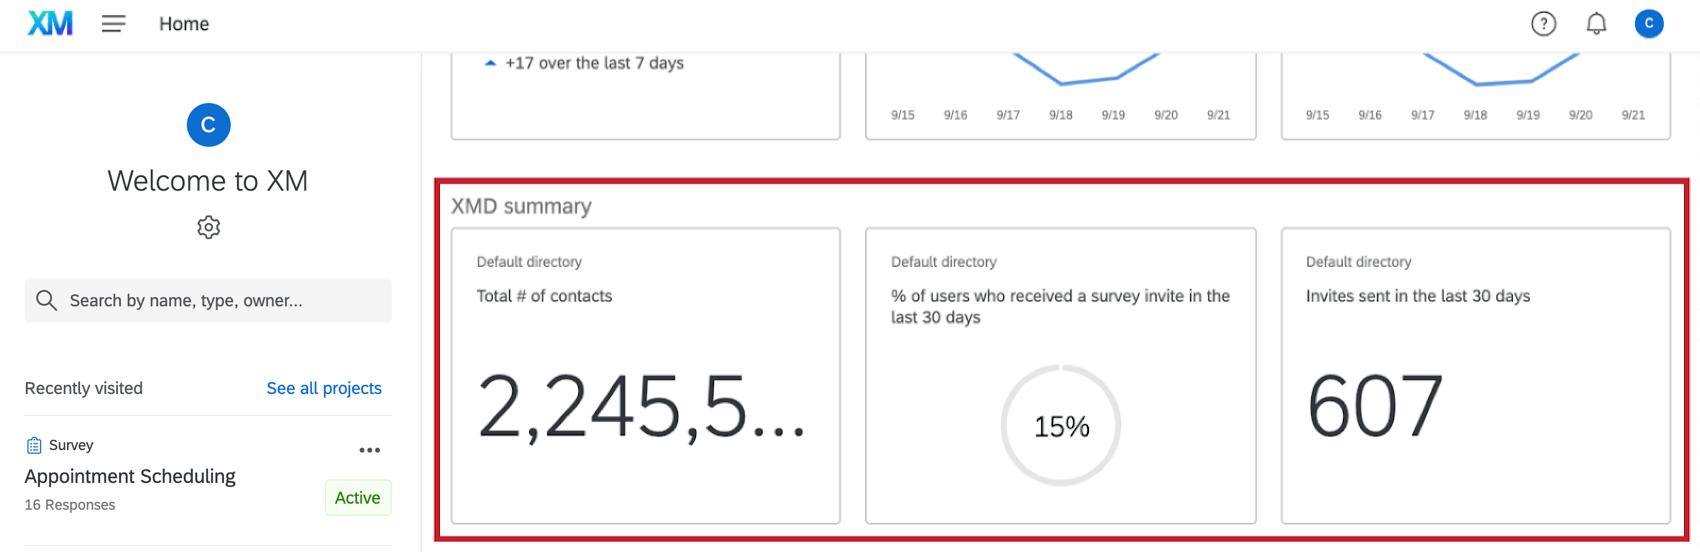
 - Directories: Metrics on number of contacts within your brand, % of users that received a survey invite in the last 30 days, and number of invites sent in the last 30 days. This section is available to users who have access to Directories or Contacts.
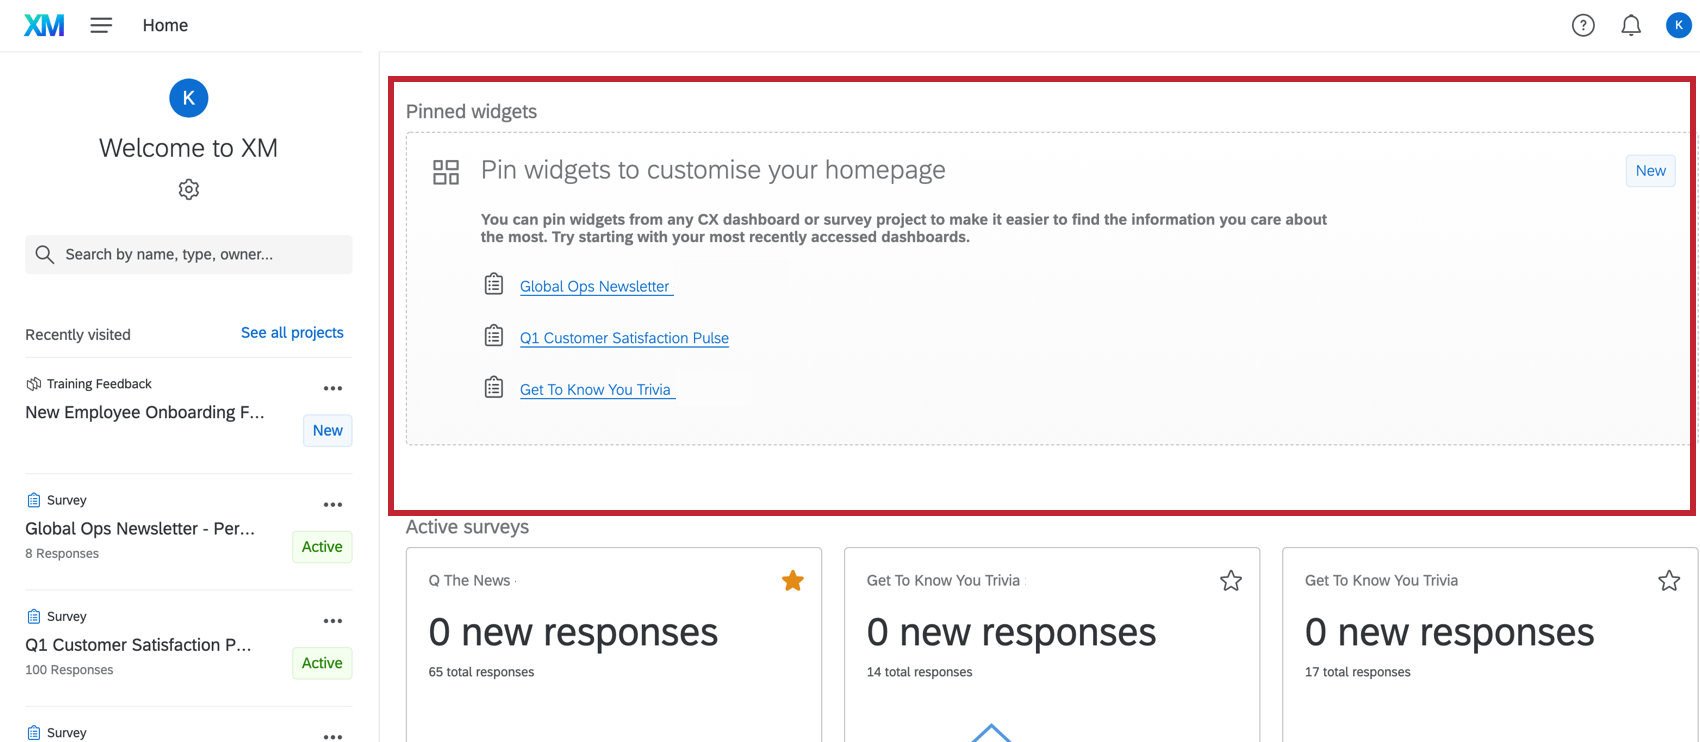
- Pinned widgets: Widgets from any CX dashboard or survey report can be displayed from the homepage. This section is available to users who have access to CX Dashboards or Reports.
Configuring Your Homepage
Your homepage is completely customizable, so you can configure your page with the insights and data that are the most useful to you. Cards can be added or removed from your homepage. Your homepage is customized to you, so your changes do not apply to other users within your brand.
Follow the steps below to customize the cards on your page:
Adding and Removing Items
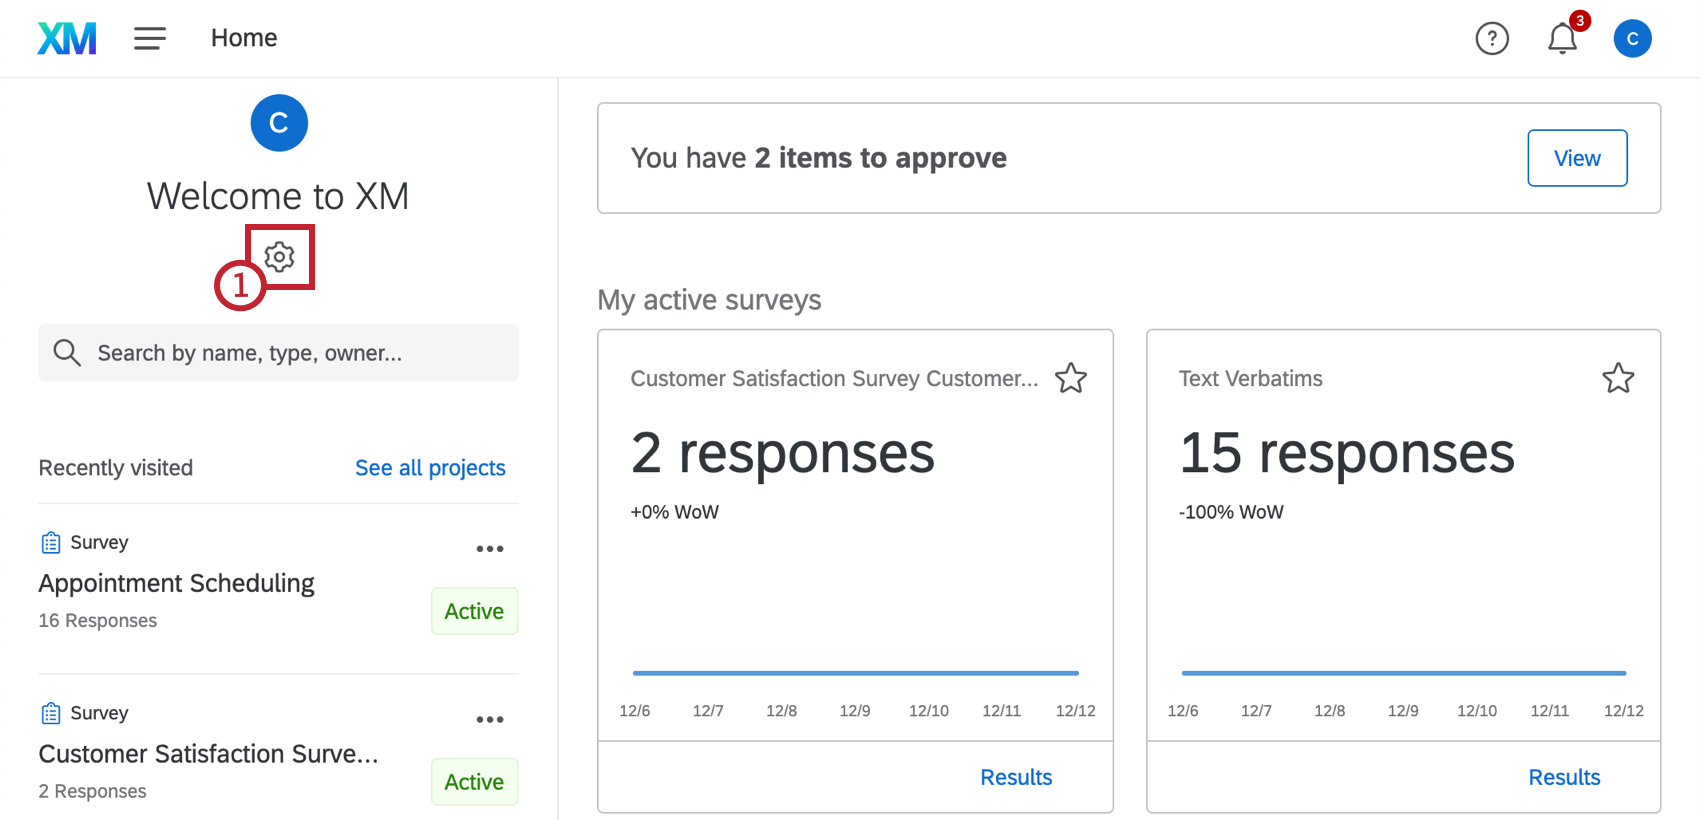
- Click on the gear icon in the top-left corner.
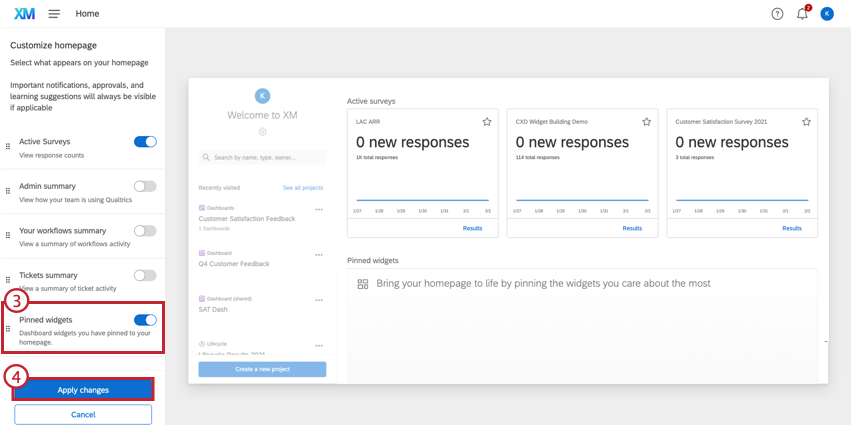
- Choose which items you want to display on your homepage by clicking the slider next to each item you want to appear. The homepage will automatically update while you are editing so you can see how your selections affect the page. Use the dots to the left of the item name to move items up or down, based on which sections are most important to you.
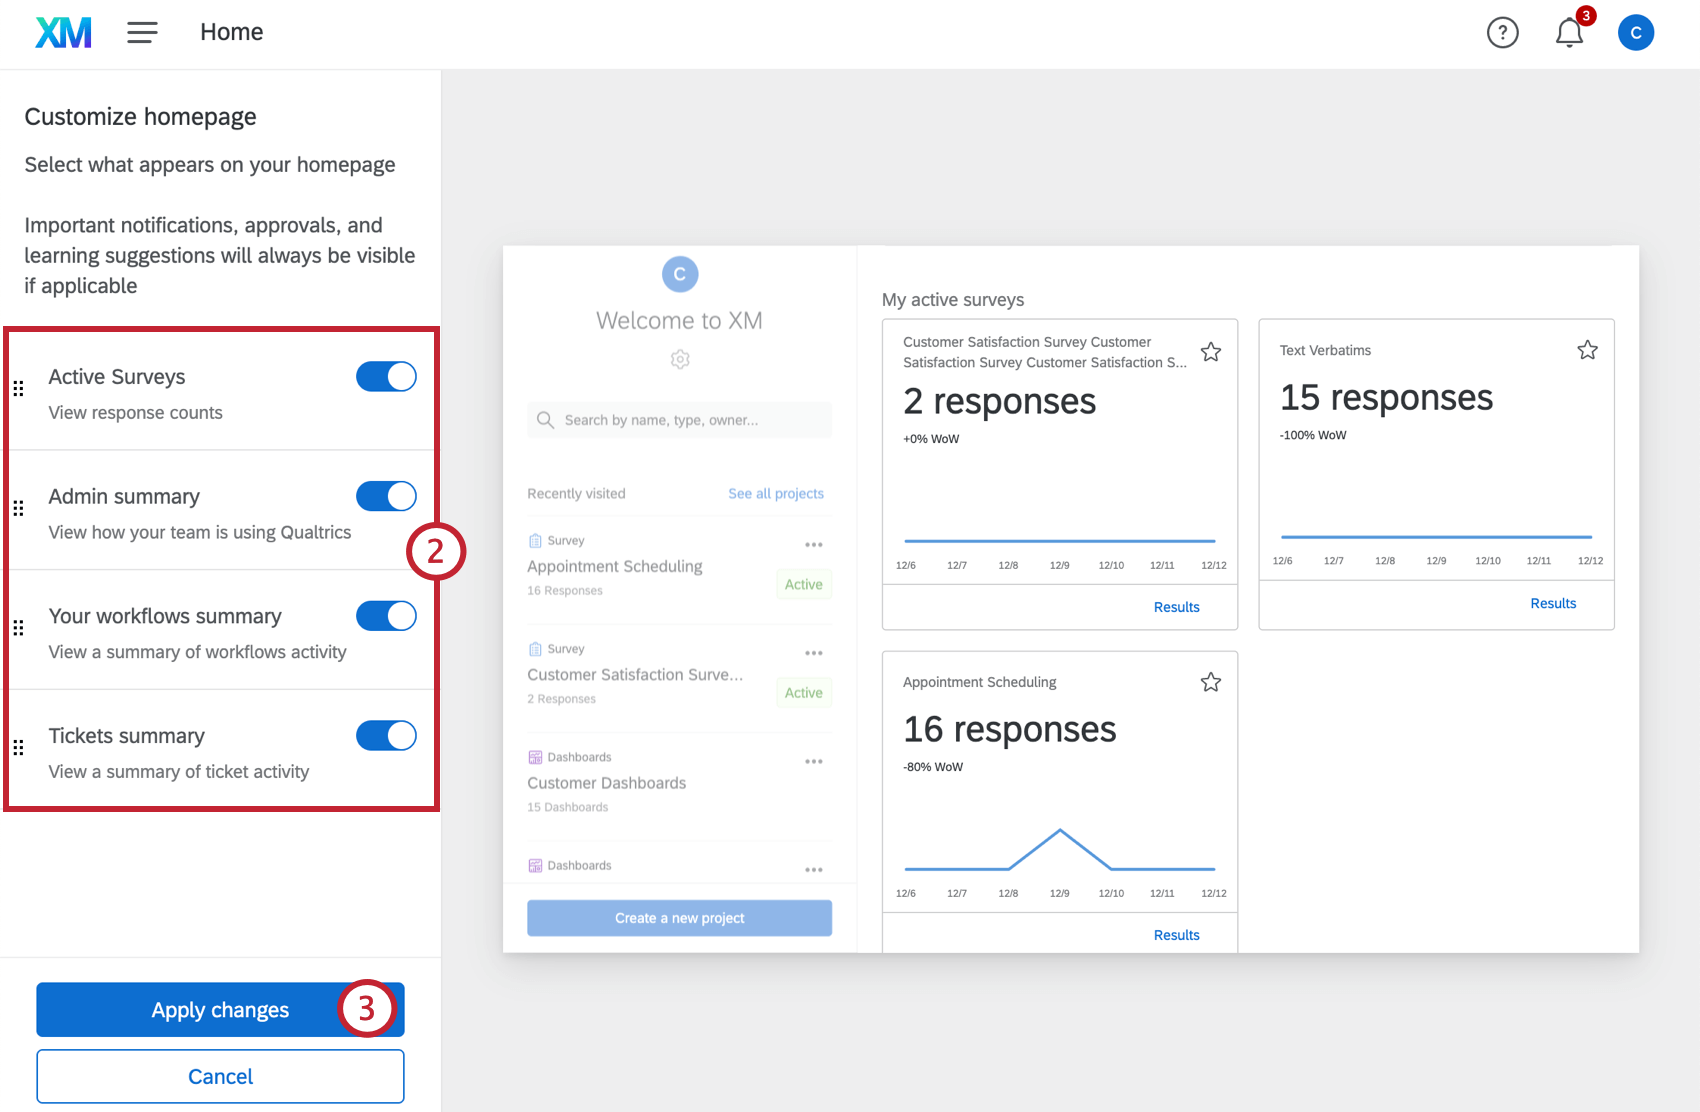 Qtip: Enabling a card section will display all individual cards for that section. For example, enabling Active Surveys will display all active surveys within your account.Qtip: Notifications, approvals, and learning suggestions will always be visible. They can be dismissed when they appear on the homepage, but cannot be removed entirely.
 - Click Apply changes to save your new layout.
Qtip: To revert to your previous layout, click Cancel.
Pinning Widgets on Homepage
Use pinned widgets to easily display graphical data from CX Dashboards and Results Dashboards on your homepage.
Pinning widgets to homepage
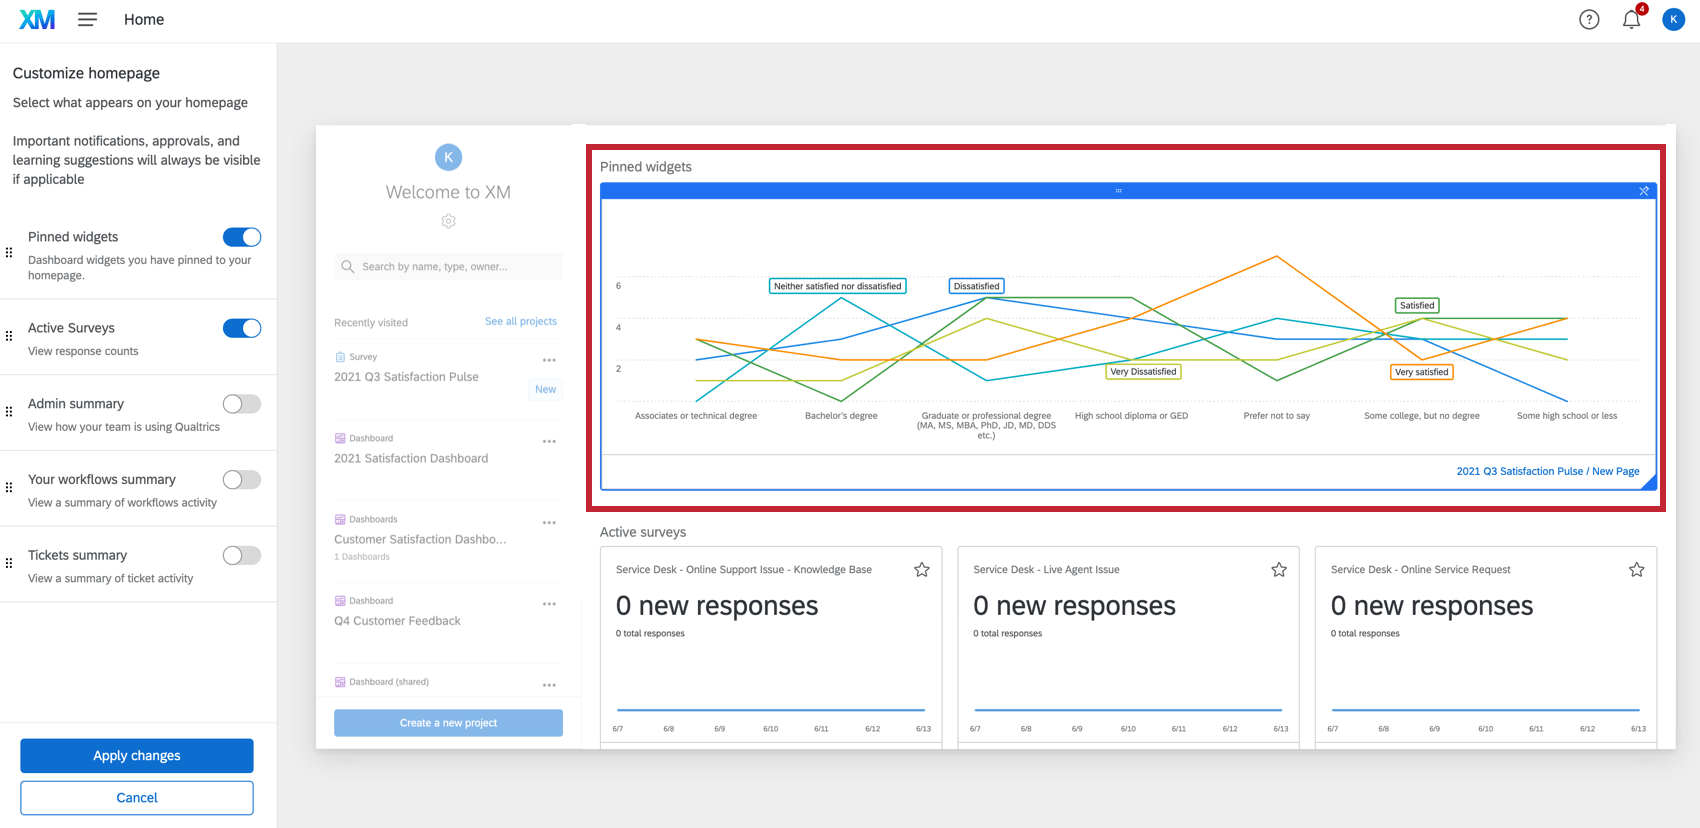
To display dashboards widgets on the homepage, pinned widgets must first be enabled via the homepage settings.
- Navigate to the homepage.
- Click the gear icon in the top-left corner.
- Make sure Pinned widgets is enabled.
 Qtip: Use the dots to the left of the item name to arrange where the pinned widgets will be displayed on the homepage.
 - Click Apply changes to save your new layout.
Pinning Widgets from CX Dashboards
The homepage can display up-to-date widgets directly from your CX dashboards. The gauge chart, number chart, simple chart, and response ticker are compatible with being pinned to the homepage.
- Navigate to a CX dashboard.
- Click the three dots in the upper-right corner of any compatible widget.
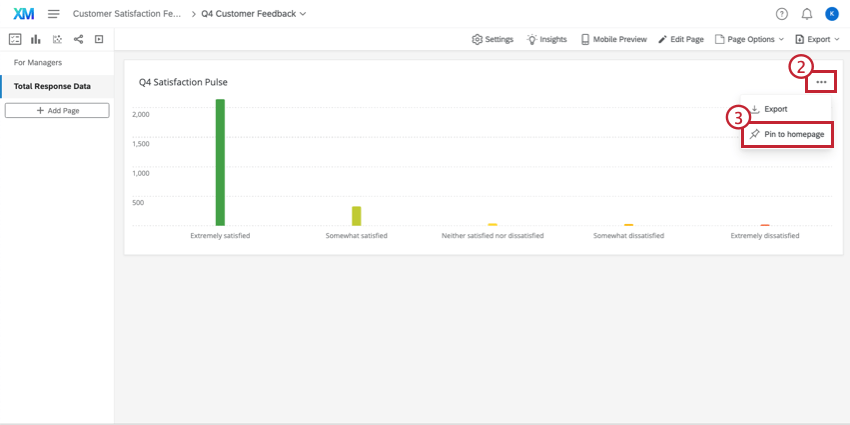
- Click Pin to homepage.
Pinning Widgets from Results Dashboards
Widgets from Results dashboards can also be pinned to the homepage. The gauge chart, line chart, simple chart, and response ticker are compatible with being pinned to the homepage.
- Navigate to the Results tab within a survey.
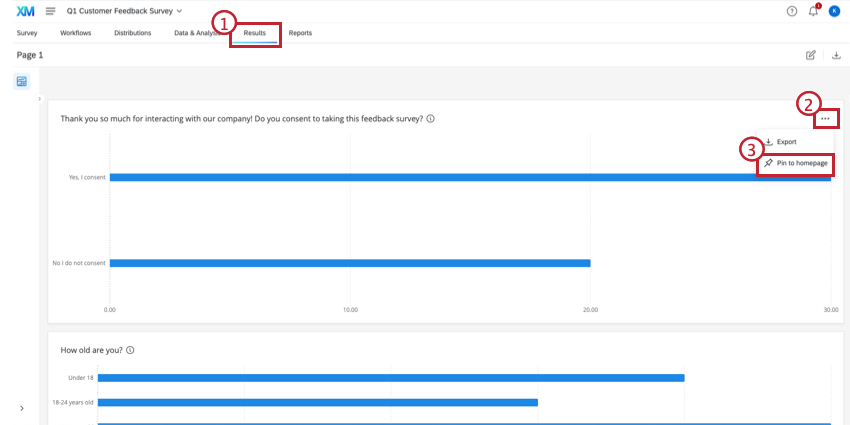
- Click the three dots in the upper-right corner of any compatible widget.
- Click Pin to homepage.
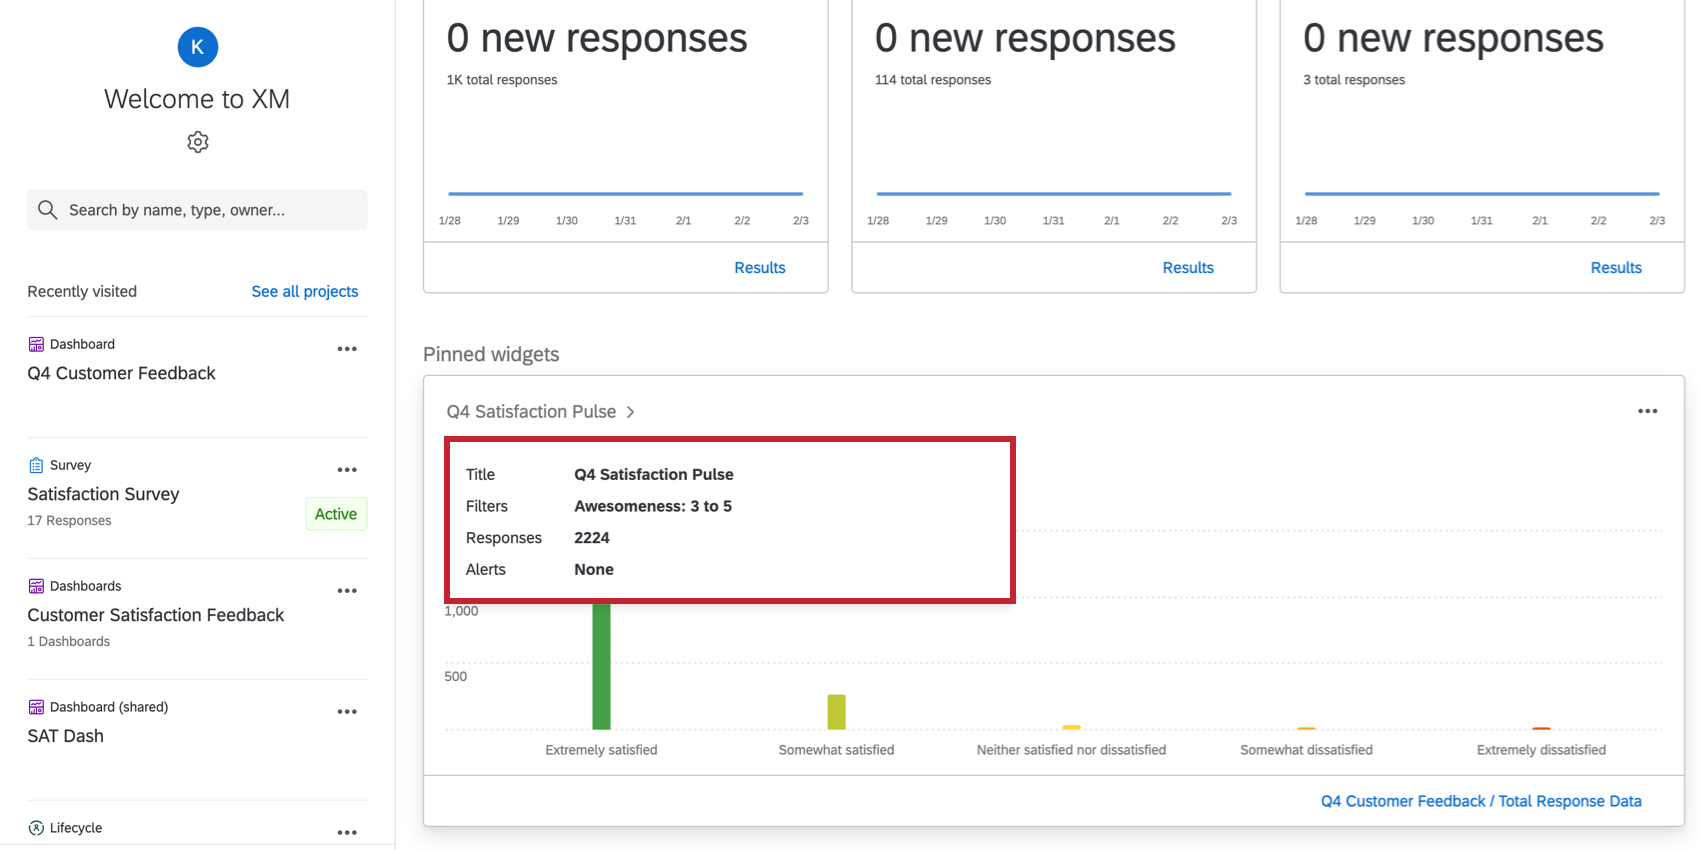
WIDGET INFORMATION
Hover over the title of a pinned widget to see information on the data displayed in the widget. This information pane will show the Title, the Filters applied to the widget or dashboard, the total number of Responses, and any Alerts configured to the dashboard.
REARRANGING WIDGETS
Widgets can be resized or rearranged by clicking the gear icon in the top-left corner, then using the configuration screen to adjust the widgets.
- To move a widget, click and drag the blue bar above the widget.
- To adjust the size of a widget, click and drag the bottom-right corner of the widget.
- To unpin the widget, click the button in the upper-right corner of the widget.
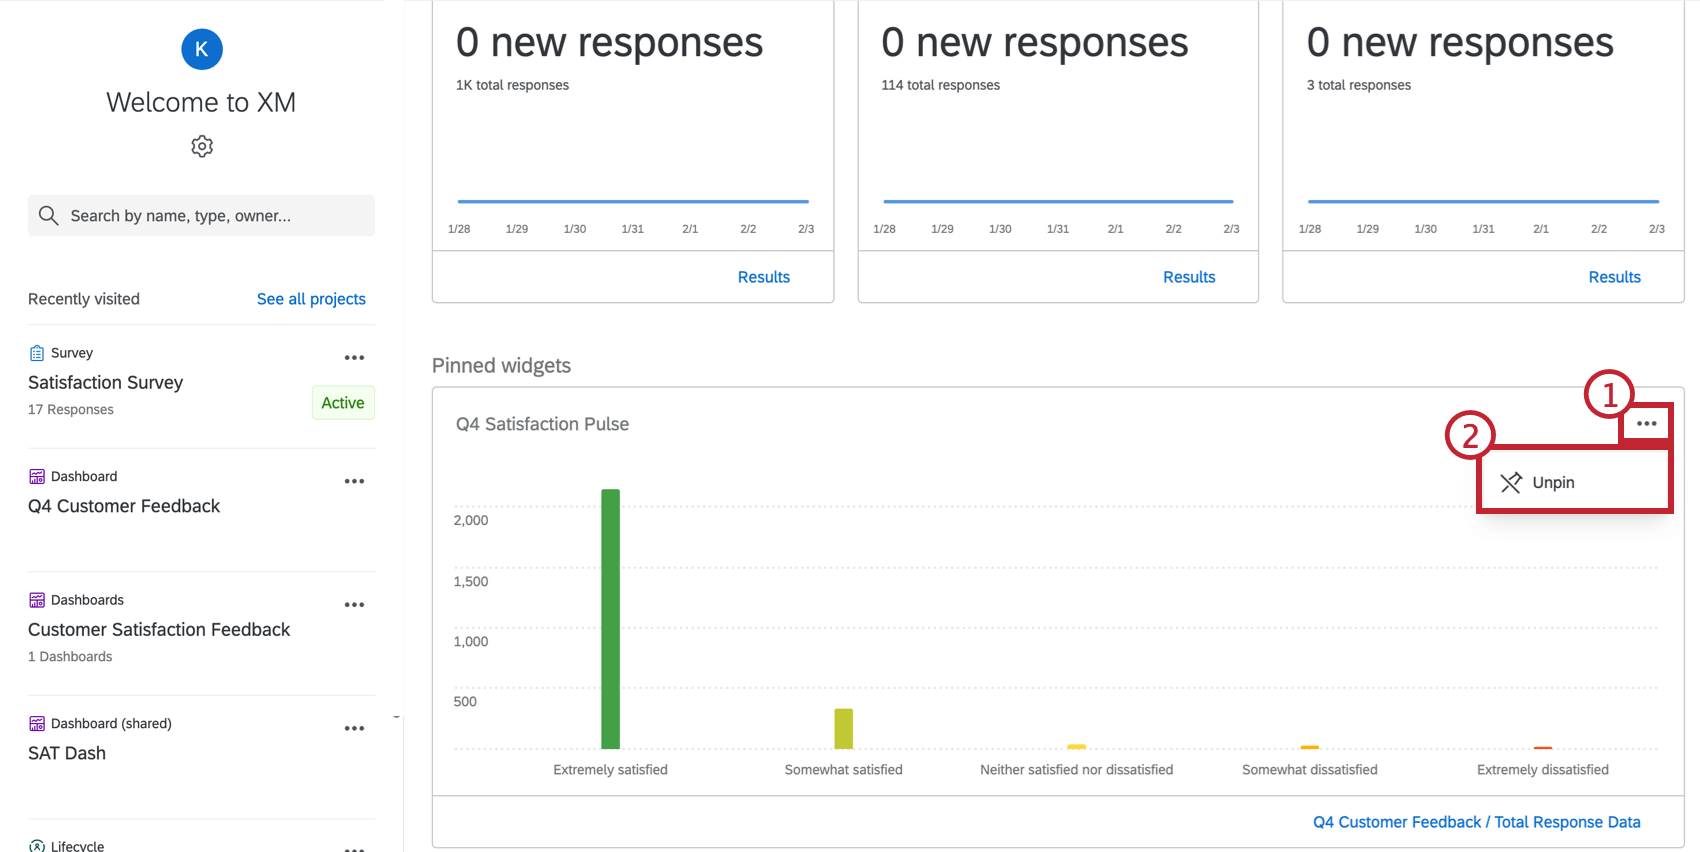
UNPINNING WIDGETS
Widgets can be unpinned from either the homepage or the dashboard. To unpin from the homepage, hover over the pinned widget and click the three dots in the upper-right corner, then click Unpin.
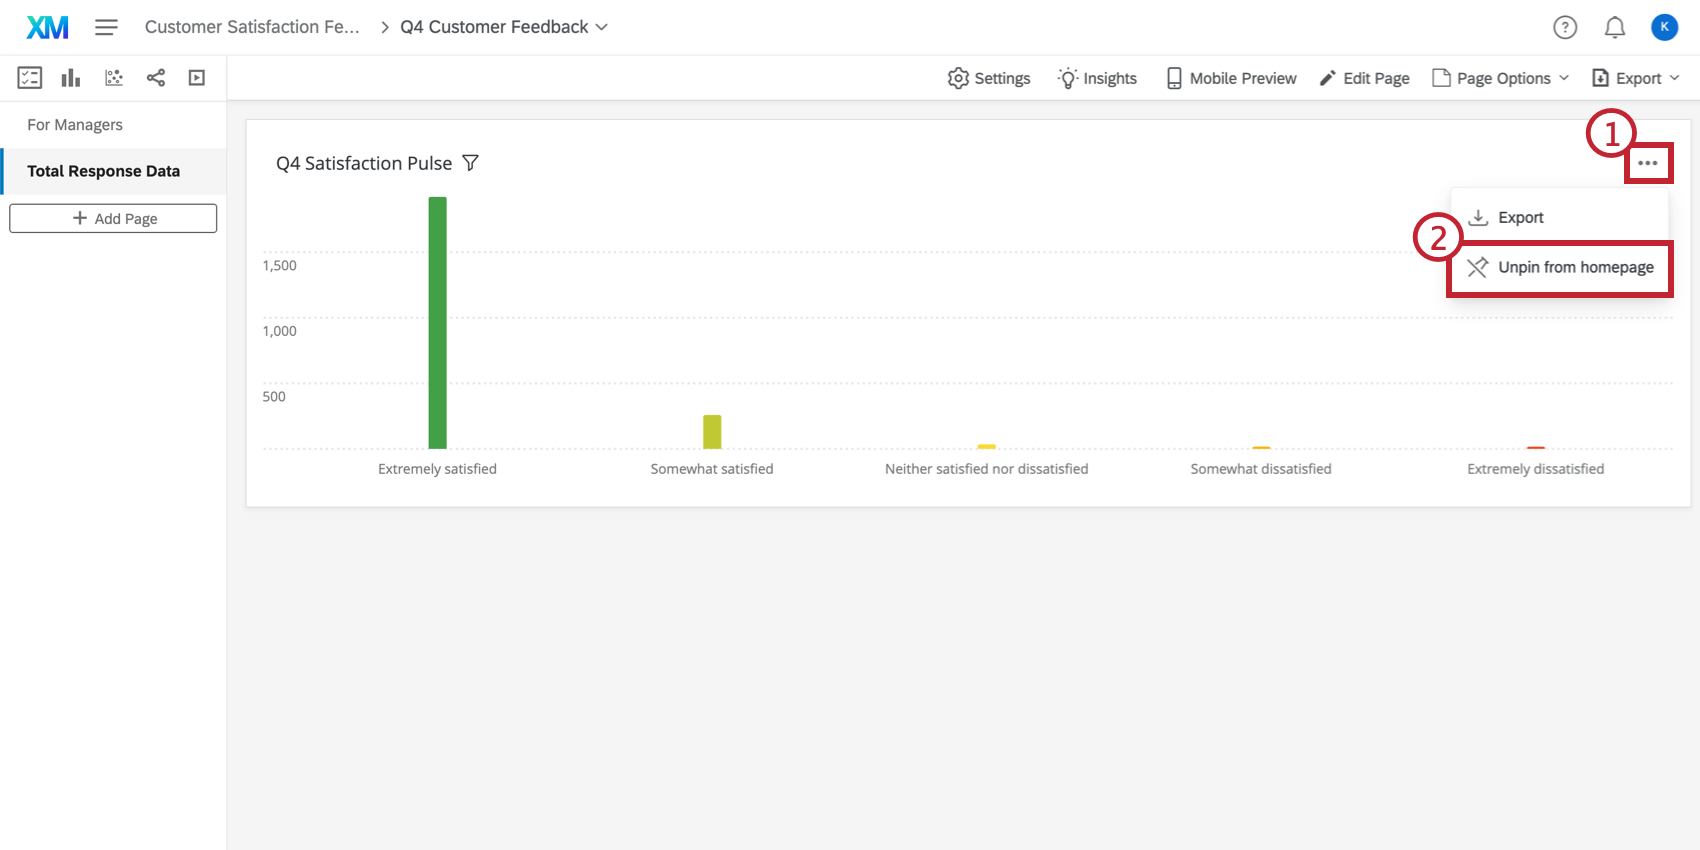
To unpin widgets from the dashboard, navigate to the widget’s dashboard and click the dots in the upper-right corner, then click Unpin.
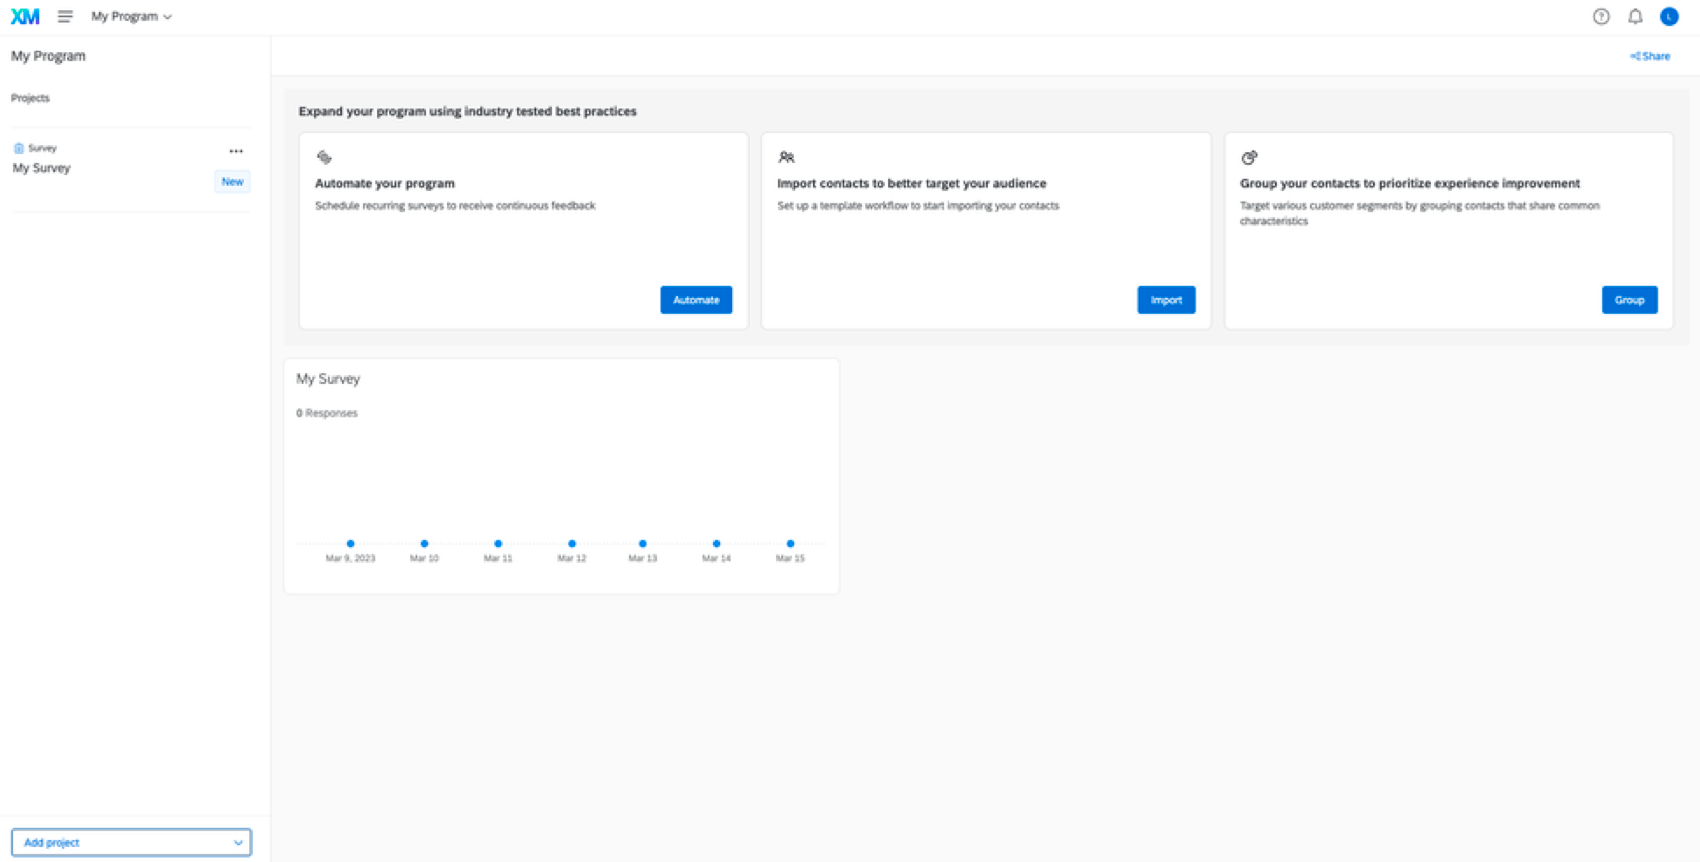
Quick Start
Depending on your license, you may see a walkthrough when first accessing the homepage. This will only appear if you have no data or no projects shared with you. Follow the included steps to set up and distribute your first survey.
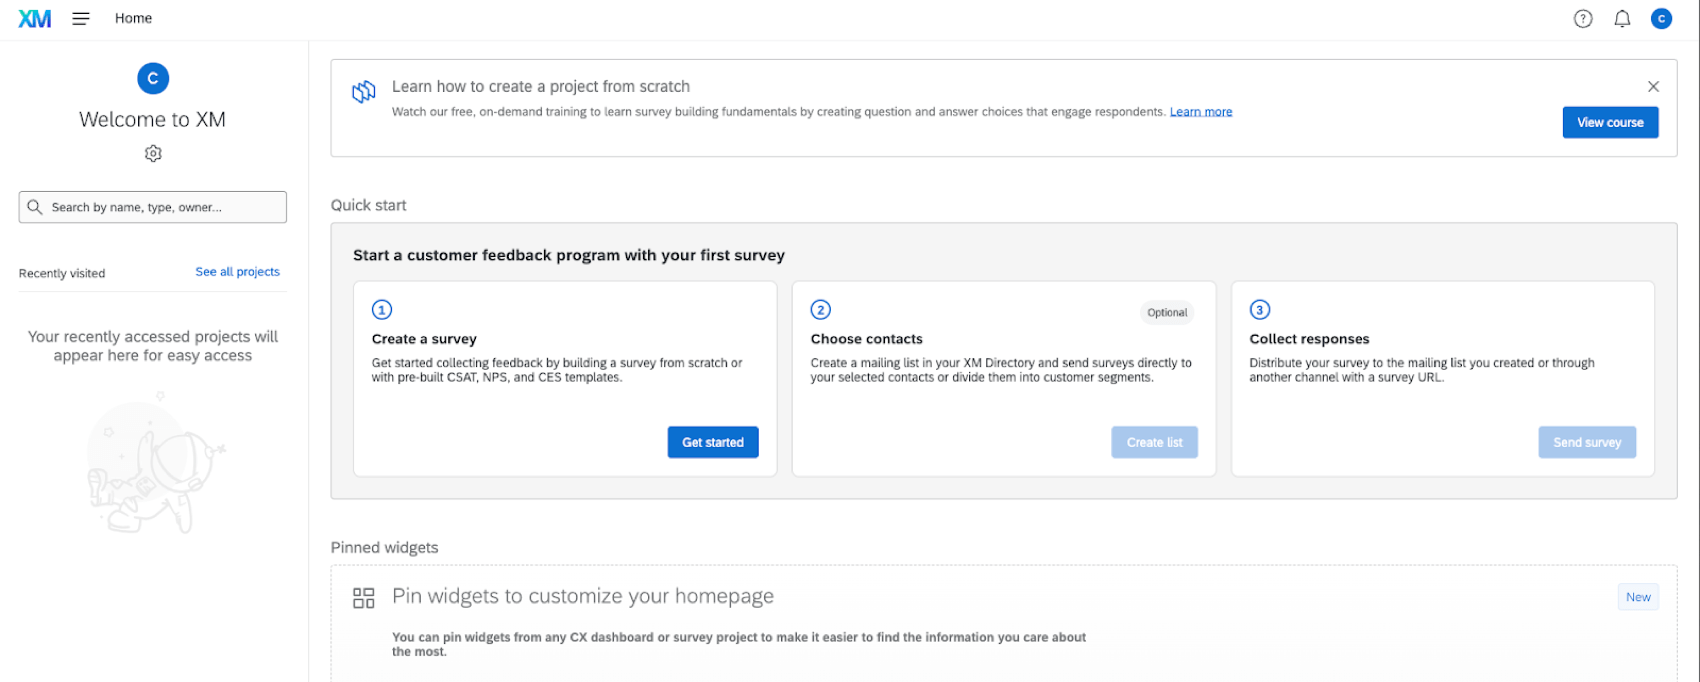
Projects created from this walkthrough have additional guidance to guide you through the best next steps to finish setting up your project. When you click on a recommendation card you’ll be taken directly to the specific part of the platform to complete the setup step.